Slide Tutorial - Part 3
 For the fourth slide select the fill triangle tool. Choose a new color from the palette and draw three triangles: one equilateral triangle, one right triangle, and one obtuse triangle. For the equilateral triangle hold down the control key as you begin to draw. For the obtuse triangle press the plus (+) key a few times while drawing. After you've drawn the triangles as shown below, practice moving the triangles around and resizing them.

Use the hand
 tool to move objects and the resize
  tool to resize them.
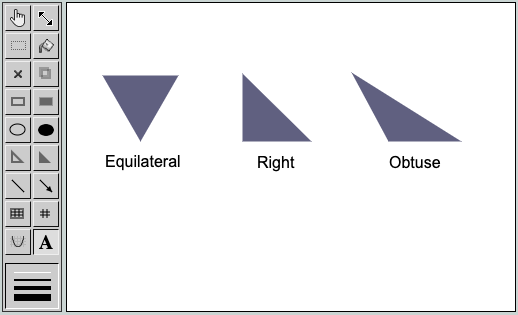 Using the text tool label each of the three triangles. Don't worry about placing the labels exactly in the right place when you begin to type. Remember you can always move any object, including text, within the slide using the hand tool. Dragging an object off the slide has the effect of removing it. Any time you remove or move objects you can undo and redo your actions using the Undo and Redo buttons.
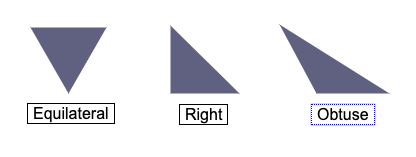
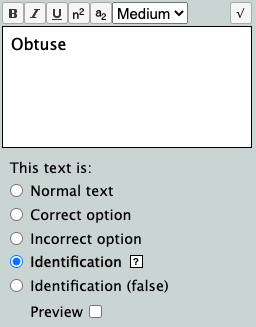 Change each of the triangle labels into identification questions. With the text tool click on each label and check the identification option. This changes the labels from ordinary text into identifications. Where identifications are defined the student will have to drag the text into the correct location on the slide in order to correctly answer the problem.
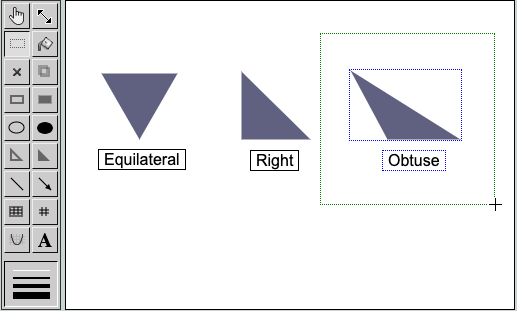
 You can select multiple items on the slide to move them both together. Use the select tool to draw a dotted rectangle around both the obtuse triangle and its label.
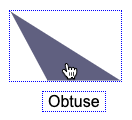 Once both items are selected (outlined in blue) you can click and drag them together.
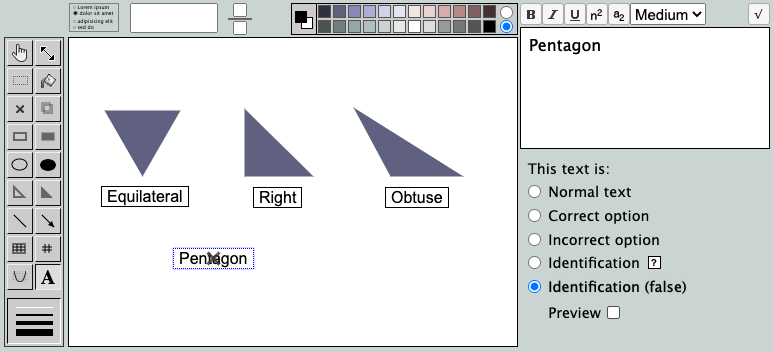 A false identification is an extra identification answer which does not match any target identification box
 . If a
student uses the false identification as a solution it is marked incorrect.
Enter a name for the test and save your work. After saving the test you can preview it, assign it to a class, or edit it again.
. If a
student uses the false identification as a solution it is marked incorrect.
Enter a name for the test and save your work. After saving the test you can preview it, assign it to a class, or edit it again.

 Enter a name for the test and save your work. After saving the test you can preview it, assign it to a class, or edit it again.
You've finished the slide creation tutorial and are now ready to create your own slides for class tests. This tutorial did not cover all the features of the slide editor, but you should now feel comfortable experimenting on your own to see what else it can do.